

Start with the hat you want to receive
A custom hat tech pack is the working description of the product you want a manufacturer to make. It connects drawings and artwork with materials, measurements, construction and quantities. You do not need every answer before contacting a factory, but the document should distinguish an instruction from a question.
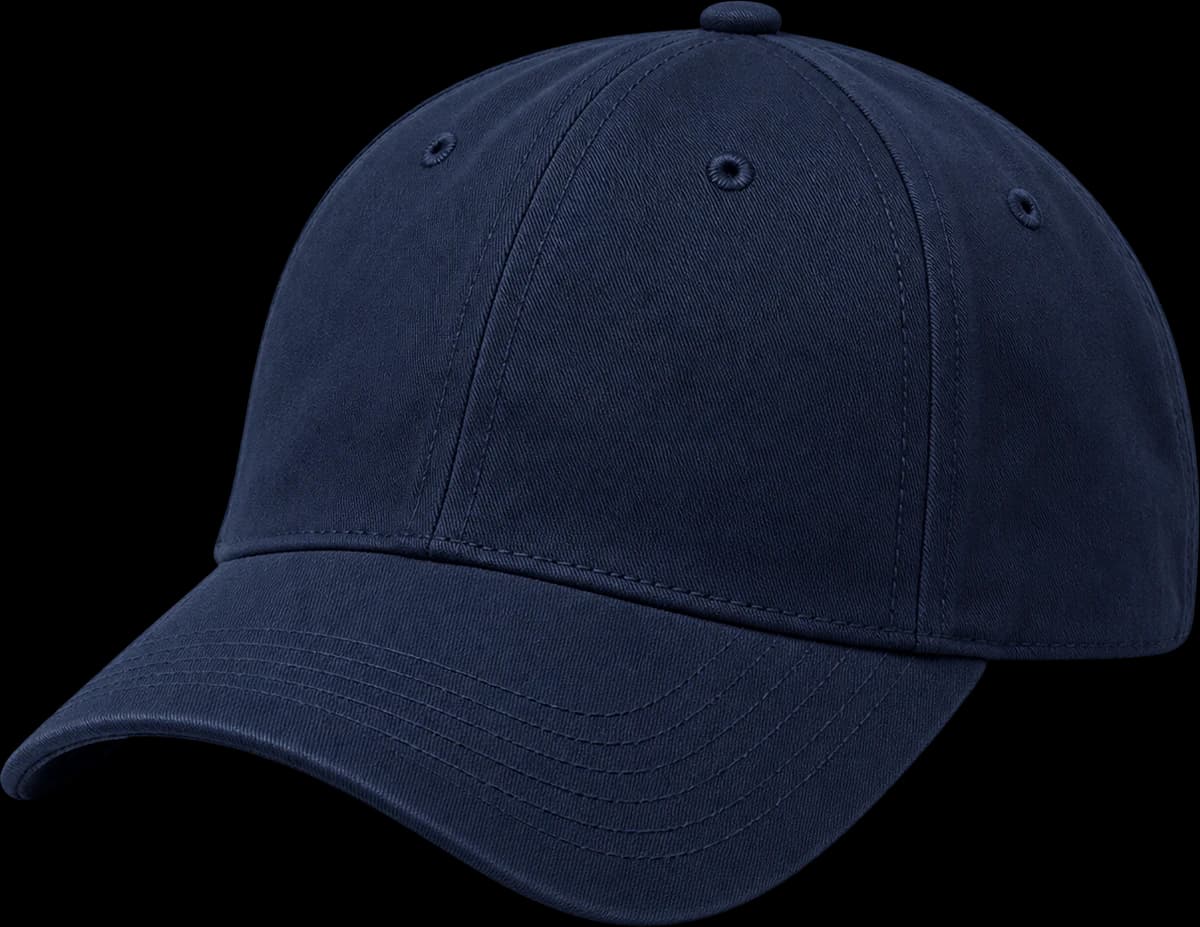
Start with a style name or code and a short use case: a washed cap for a clothing collection, a mesh-back cap for an event, or a knitted beanie for winter retail. Then identify the reference that controls the fit. A front photo of one cap and a side photo of another can be useful, provided you explain which features to combine. Without that explanation, the factory has to choose for you.
Specify crown, brim and fit separately
“Six-panel baseball cap” describes a construction family, not a finished fit. Show the front height, crown depth, brim projection and curve you want. A soft front and a low crown are separate decisions: changing one does not necessarily produce the other. Use a worn side view when the position above the ears matters.
Add measurement arrows to a drawing or photographs of a physical reference. State whether a dimension follows a curved surface or is measured in a straight line. For an adjustable cap, record the closure setting used. For a bucket hat, identify the intended size range and where the inside circumference is measured. Discuss workable tolerances for the selected construction rather than copying universal limits from a template.

- Shape: front, side, rear and inside
- Artwork: version, dimensions and position
- Order: style × color × quantity
Build a component list, not just a color palette
List crown fabric, visor covering, underbrim, sweatband, seam tape, closure and labels. Add mesh or a chin cord where relevant. For each component, record the requested material and color reference. “Navy” is a useful name for your assortment, but it is not a sufficient matching reference.
If you know composition or fabric weight, include it with the source of that information. If you only have a photograph, describe the visible texture and desired feel instead of inventing a specification. A fabric reference helps select material; the sewn sample shows how that material behaves in the hat.
Give the logo a size, position and file revision
Supply the original artwork where available, with finished width and height. Mark placement from a stable feature such as the brim seam or panel center. A logo occupying half of a flat mockup can look very different on a curved crown. Front, side and rear marks need separate placement instructions.
State the proposed method—embroidery, print, woven label or patch—and the details that must remain legible. A digital vector file is not an embroidery stitch file. Artwork still needs preparation for the process, and fine lettering should be checked at actual size on the selected surface. Keep one revision identifier on the artwork and tech pack so an old attachment is not mistaken for the final file.
Example: a brief for a washed cotton cap
An illustrative brief might read: “Style DC01, relaxed six-panel crown, curved brim. Reference A controls the worn profile; reference B shows the faded navy finish. Front embroidery: supplied wordmark, 55 mm wide; vertical placement to be checked on the sample. Fabric strap with metal adjustment; tucked strap end preferred. Inside brand label and one hangtag.” The dimension here is an example, not a required logo size.
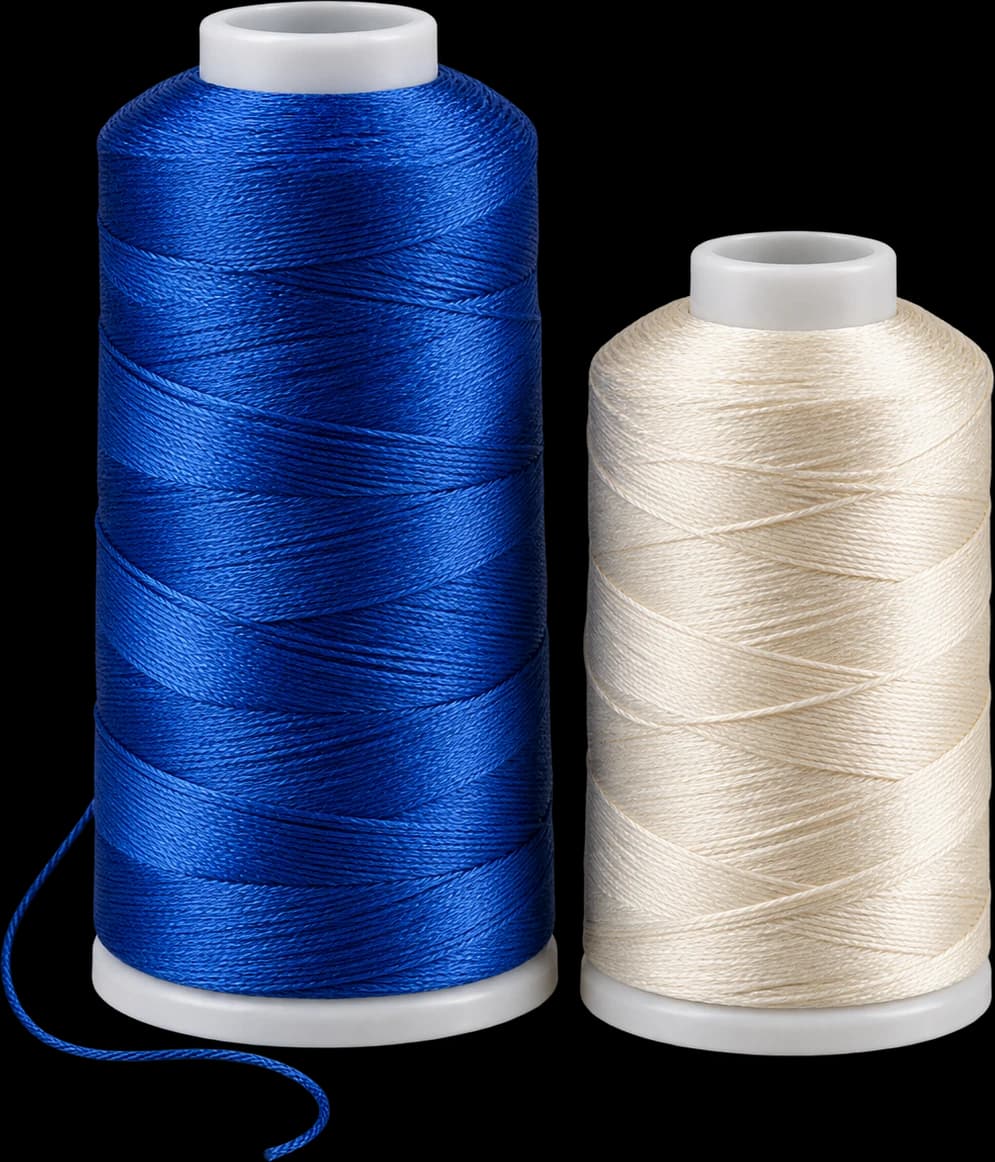
List what remains undecided: fabric weight, thread shade and closure finish, for instance. Add quantities by finished colorway rather than only a collection total. This lets the manufacturer answer the open items and quote the same product that the designer expects.
- Attach front, side, rear and inside references.
- Name each file with the style and revision.
- Separate sample requirements from bulk quantities.
- Include destination and the date the hats are needed.
What if you do not have a tech pack yet?
Send an annotated reference, artwork and the decisions you have made. A short, accurate brief is more useful than a complete-looking template filled with guesses. FORMBRIM supports OEM and ODM headwear development; explain whether you are bringing an established specification or need help developing the shape and details.
After sampling, update the document with agreed measurements, material references and changes. Keep the approved sample reference beside that revision. The tech pack is useful because it stays current through development, not because it was perfectly formatted on the first day.